QuickList
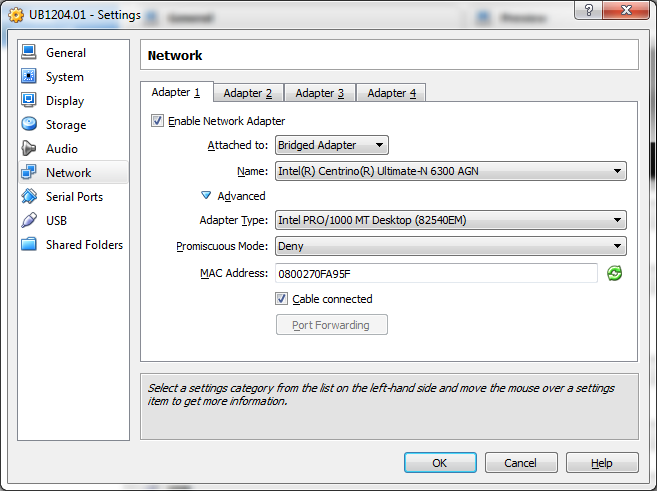
- Network
- Use wired Ethernet first as Bridged
- Verify Connection to Google
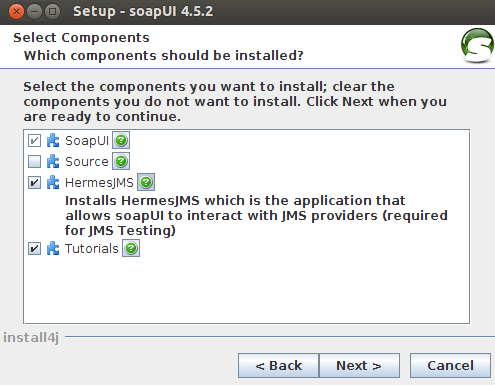
- SoapUI
- /bin/ext/JARs
- MCX Project XMLs
- PuTTY
- Normal Port Settings worked with NAT
- Browser requests to LAB/VAL access denied using a Bridged connection so…
- Then use NAT and re-test PuTTY
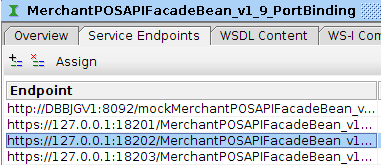
WSDL Config/Endpoints
Use Assign to force it to all requests(Same as Pro Environment)
WADL Config/Endpoints
Use Assign to force it to all requests(Same as Pro Environment)

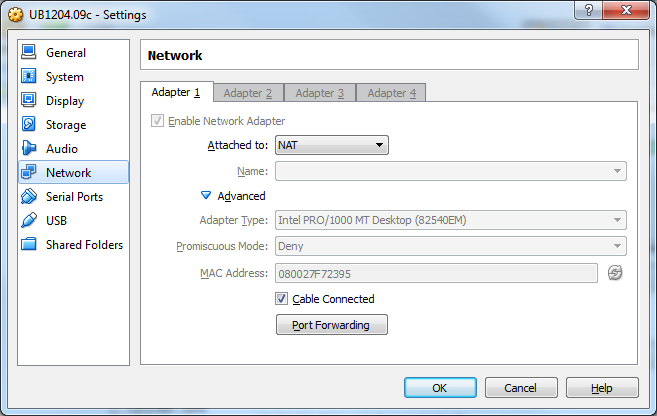
NAT
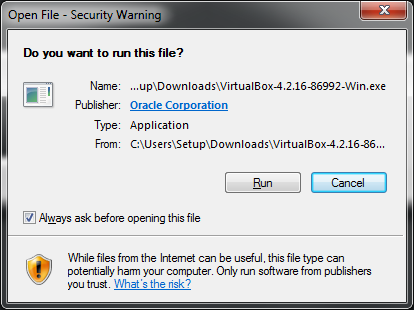
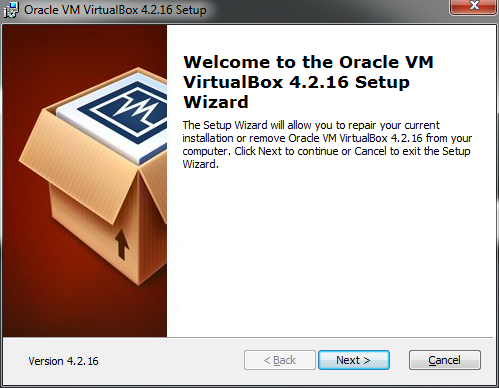
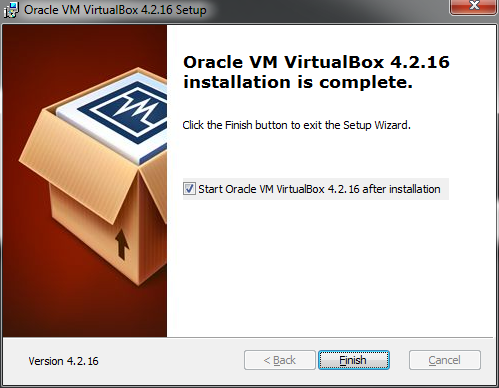
VirtualBox Install


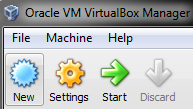
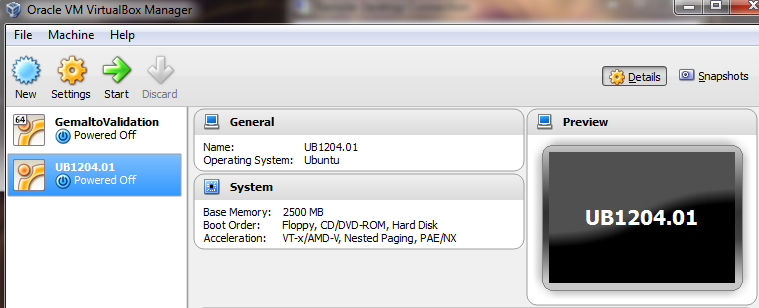
VirtualBox Main Screen
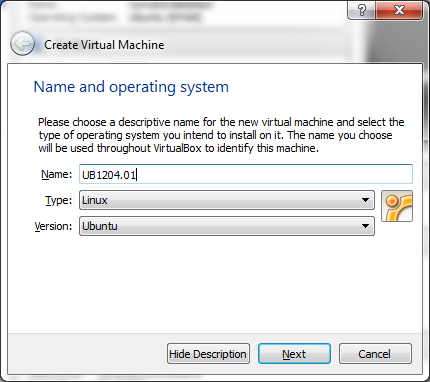
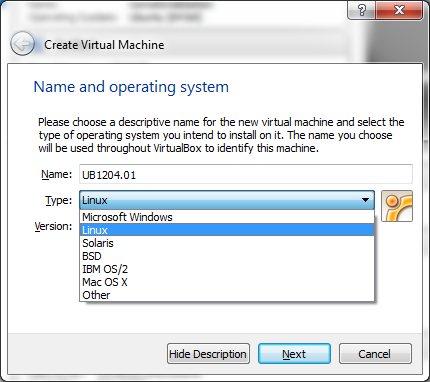
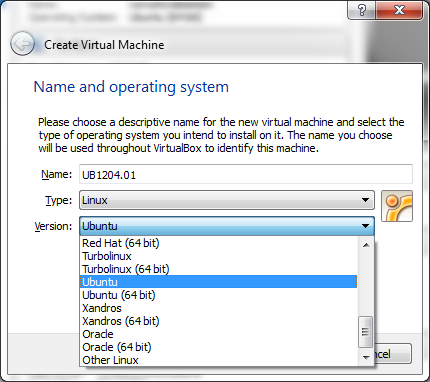
NEW
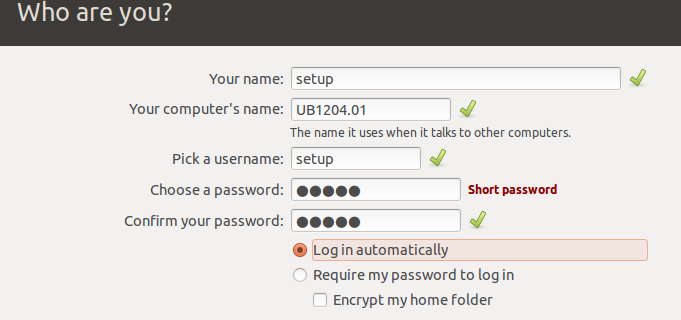
UB1204.01
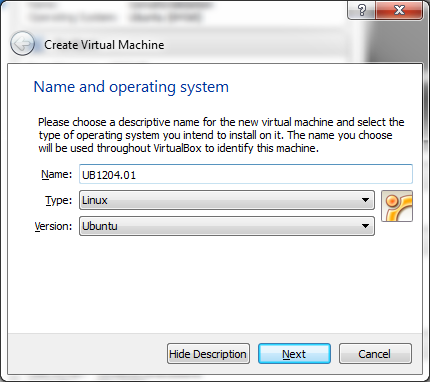
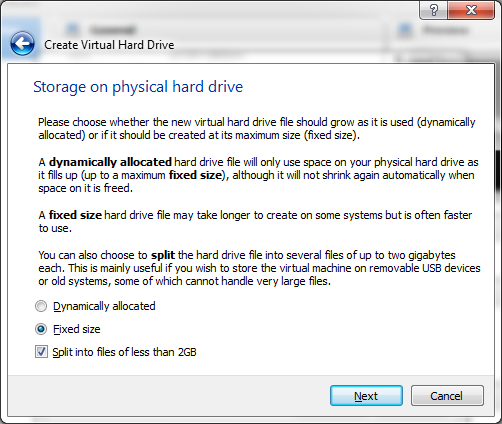
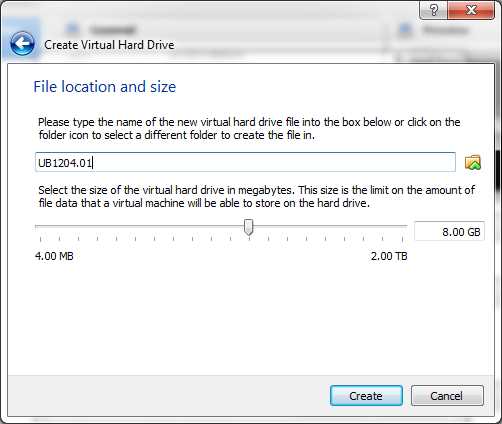

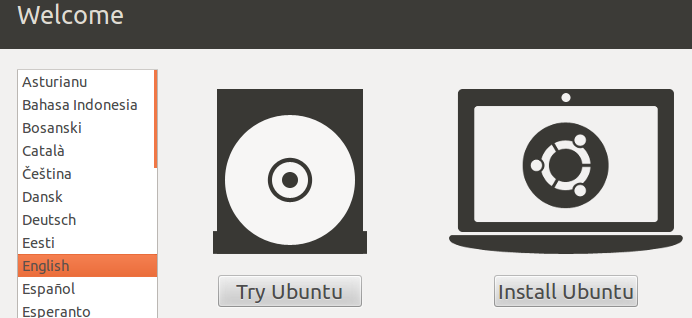
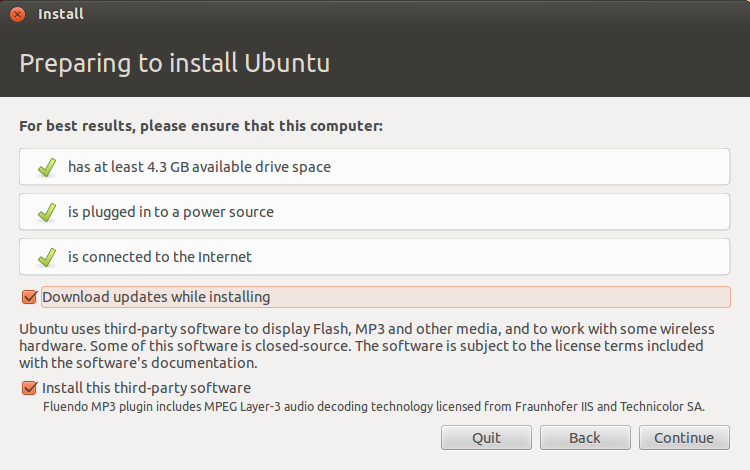
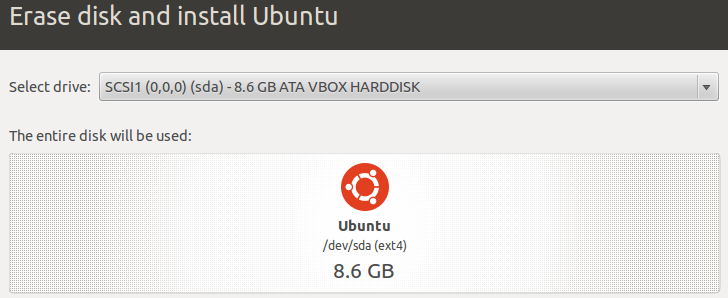
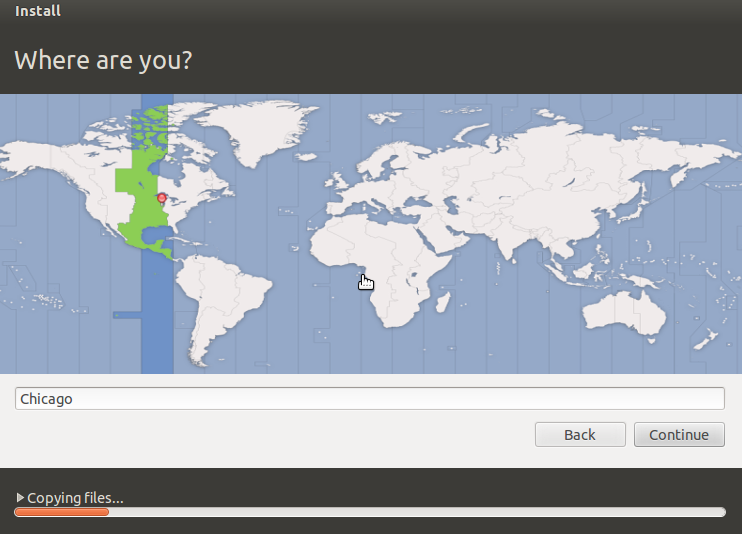
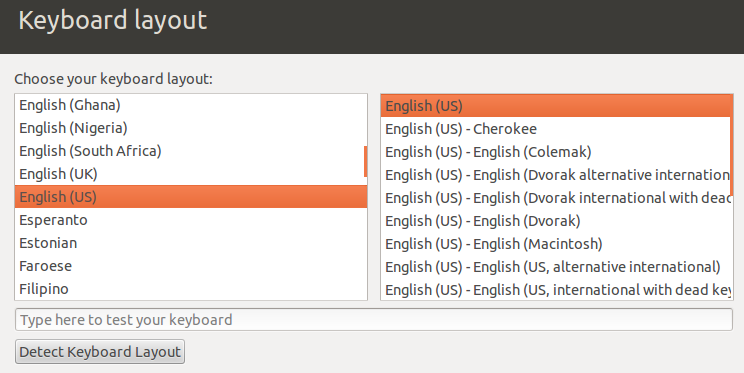
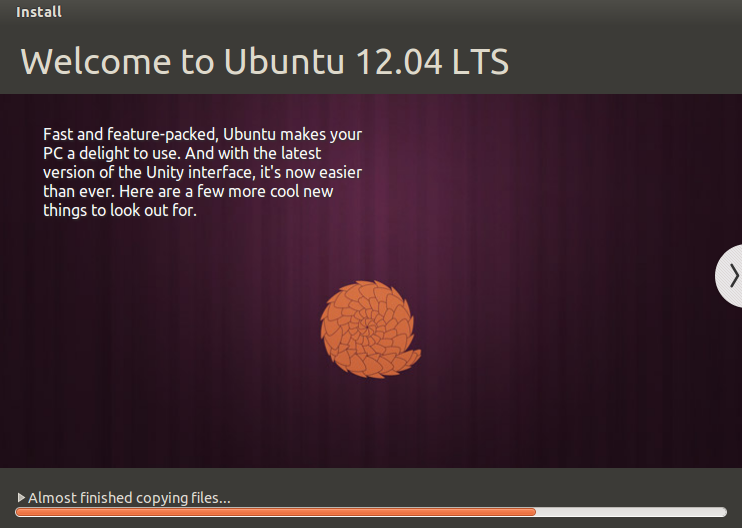
Ubuntu Installation
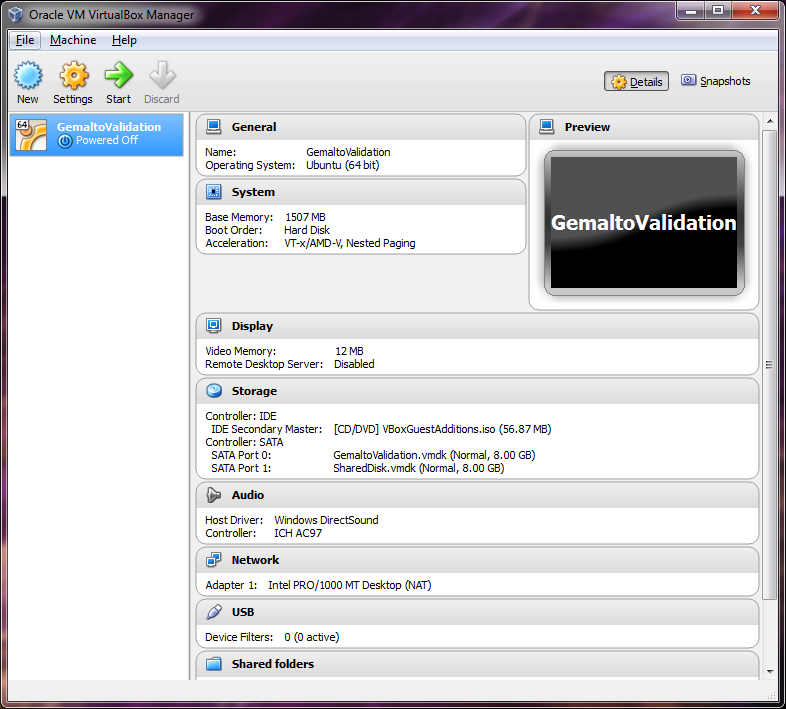
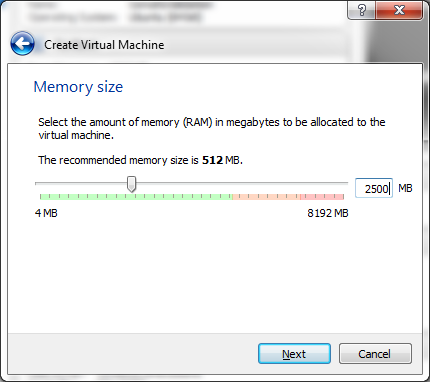
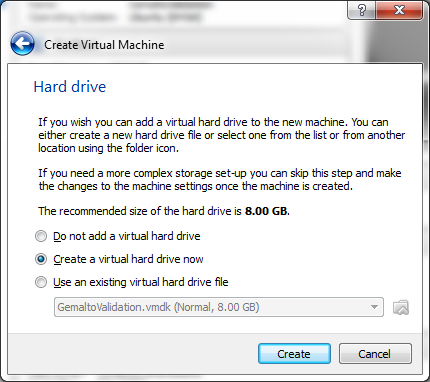
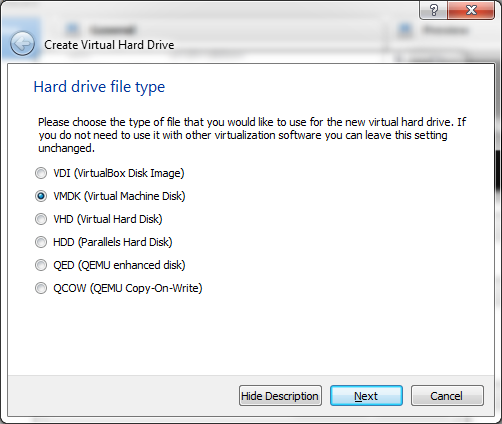
VM Configuration
System

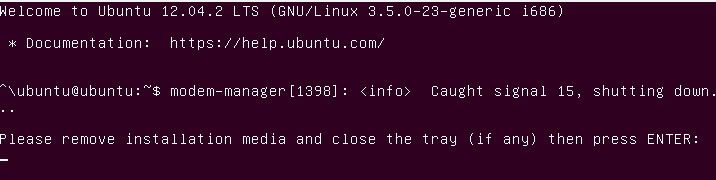
Boot the OS CD and Install


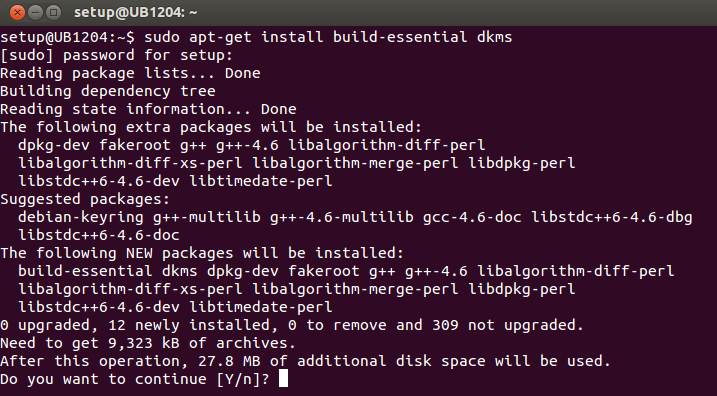
$ sudo apt-get install build-essential dkms
$ uname -r

Networking Setup
sudo gedit /etc/hostname
sudo gedit /etc/hosts
sudo gedit /etc/samba/smb.conf
#======================= Global Settings =======================
[global]
## Browsing/Identification ###
# Change this to the workgroup/NT-domain name your Samba server will part of
workgroup = SILOSIX
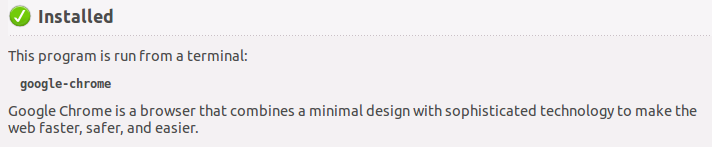
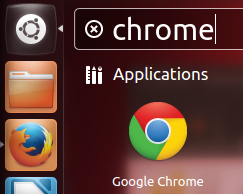
Google Chrome
https://www.google.com/intl/en/chrome/browser/


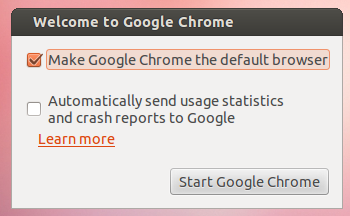
Don’t sign in now - do it after completing basic utils and creating a snapshot
Software Add-Ons
- 7zip
- FileZille
- PuTTY SSH Client
- Samba
- Advanced Sttingsens
- Geany
- VLC
- KeePass2
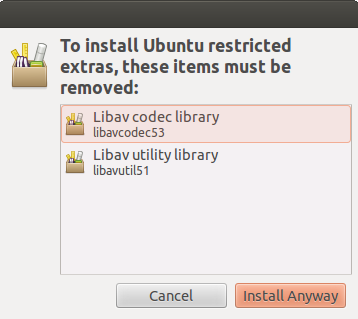
- Ubuntu Restricted Extras
- GParted Partition Editor
- System Settings
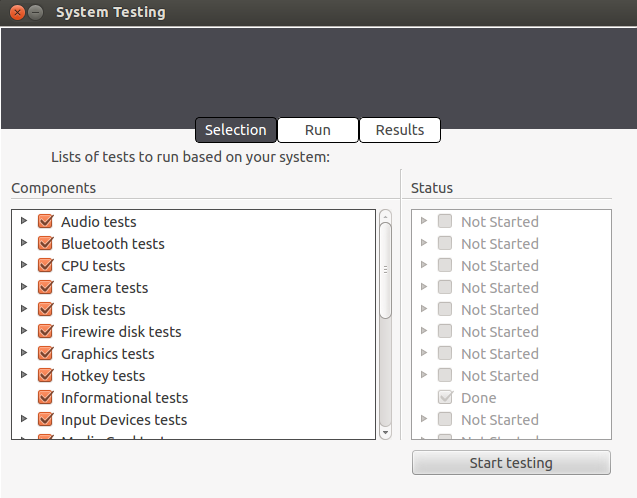
System Testing
Create Snapshot
UB1204.01
UB12.04.2 installed with basic applications
1204.07.02 Save After Expand to 20G
(this wipes SnapShots )
Add Validation Tools
Mockup in /home/Downloads/*
Deploy to /home/*
Development Add-Ons
- Java JRE1.7.0_25
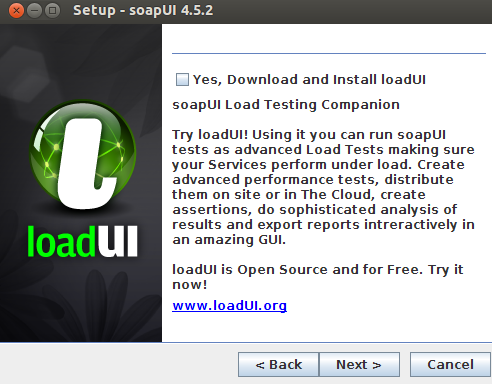
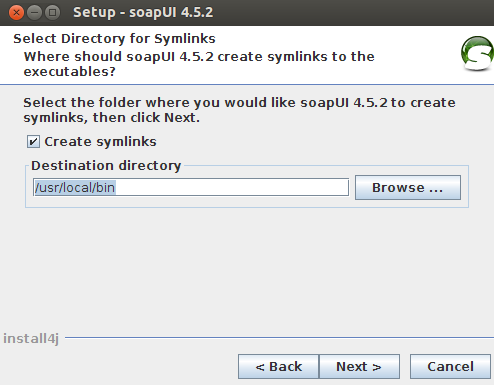
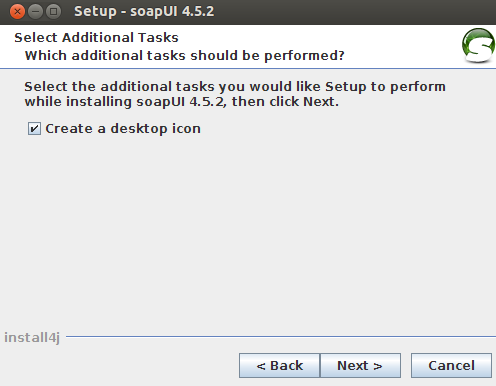
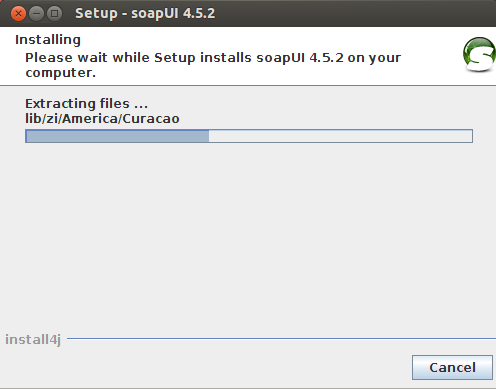
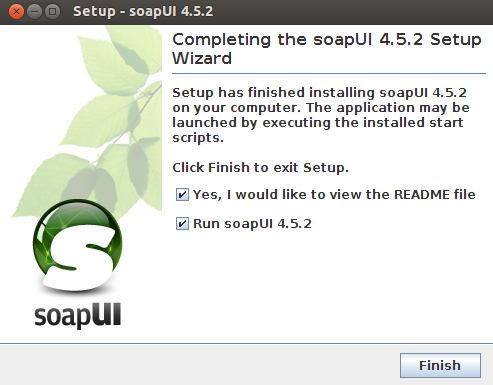
- soapUI 4.5.2
- Eclipse
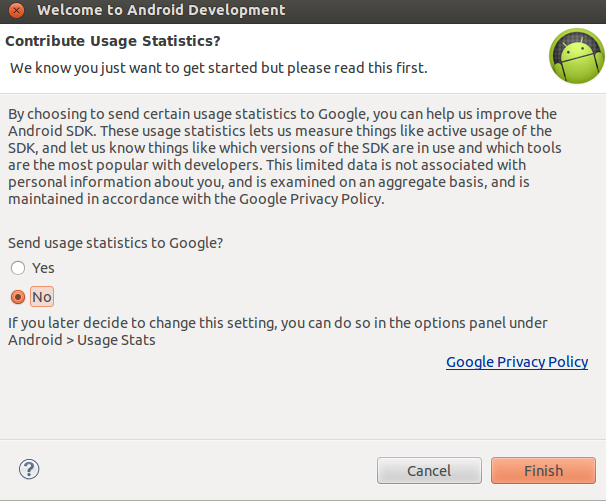
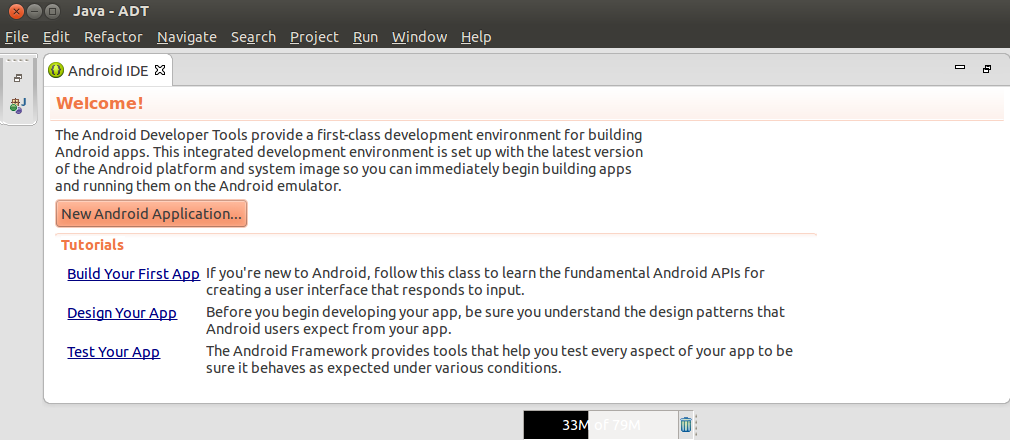
- Android ADT
- PuTTY
Google Chrome Add-Ons
sudo sh soapui-*
soapUI 4.5.2
Download the package
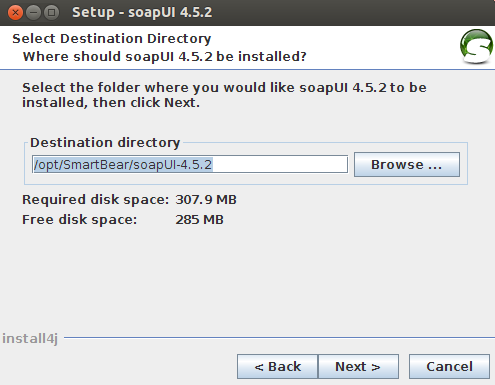
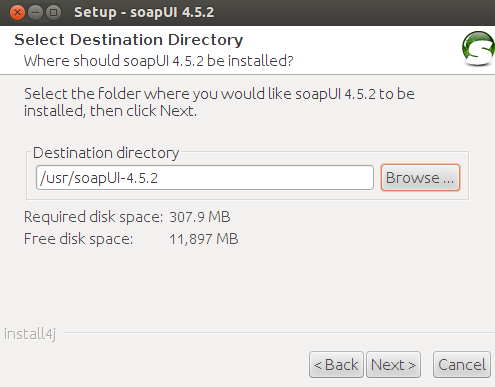
unpack to /opt/soapui-4.5.2
sudo sh soapUI-x32-4.5.2.sh

Android ADT Bundle
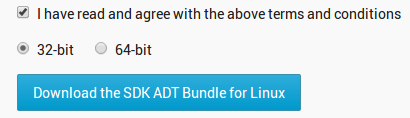
- /opt/adt-bundle-linux-x86-20130729/eclipse/eclipse
- copy /usr/java JRE to the /eclipse/jre folder.
- Eventually put ADT in user’s HOME folder due to permissions headaches
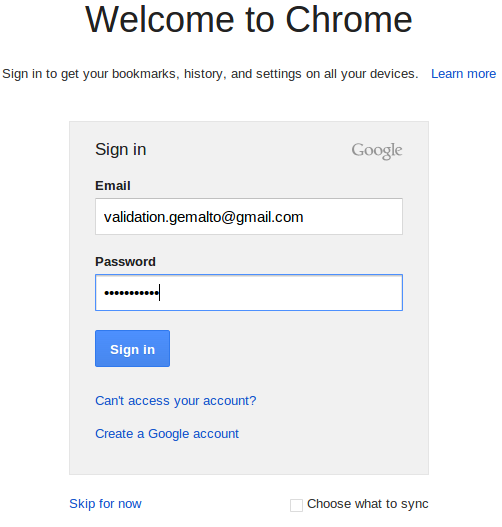
Back to Chrome
https://accounts.google.com/ServiceLoginAuth
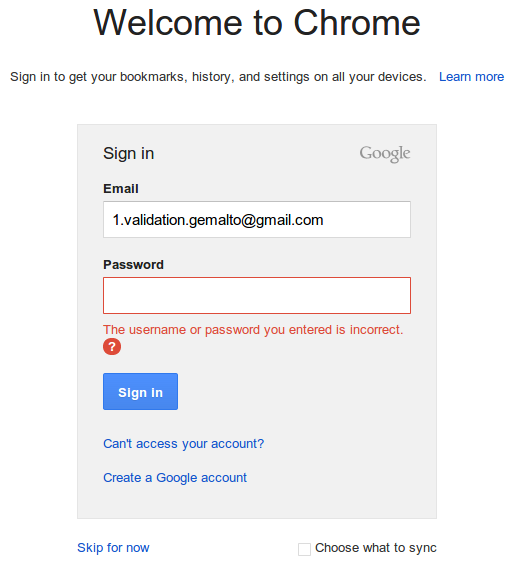
SIgn in to Chrome
Add Apps
MyUnity

RPM for Linux Installation Notes
setup@UB1204:~$ rpm
The program 'rpm' is currently not installed. You can install it by typing:
sudo apt-get install rpm
setup@UB1204:~$ sudo apt-get install rpm
[sudo] password for setup:
SQL Developer
Folder Structure
/sqldeveloper
/jre1.6
/eclipse
/jdk1.6
/soapui
/jdk1.6
Java JDK 1.6
This download does not include the JDK. You can connect to and use any JDK 1.6.0_11 or above.
To install and run:
- Ensure you have a JDK installed, if not, download here
(click the Download for JDK 6 Update <xx>, where <xx> is the latest update)
- Download the file above
- rpm -Uhv sqldeveloper-3.1.07.42-1.noarch.rpm
- cd sqldeveloper - sqldeveloper
Alien
First install alien:
sudo apt-get install alien
Then, convert the rpm file to a deb file:
sudo alien --scripts -d sqldeveloper-3.2.10.09.57-1.noarch.rpm
Then we run the deb file generated
sudo dpkg -i sqldeveloper-3.2.10.09.57-1.noarch.deb
Create the following directory in your home folder, this where it's going to store path to the jdk in the next step:
mkdir .sqldeveloper/
Run sqldeveloper once from the terminal
sudo /opt/sqldeveloper/sqldeveloper.sh
Enter the full path to Java 6
If you've got the openjdk, it'll be:
/usr/lib/jvm/java-6-openjdk
For the official one it'll be:
/usr/lib/jvm/java-6-sun
And that's SQL Developer on Ubuntu 12.04. From here on out, you can now run SQL Developer by clicking the icon in you application menu.
---------------------------------------------------------------------------------------------------
setup@UB1204:~$ mkdir .sqldeveloper/
setup@UB1204:~$ sudo /opt/sqldeveloper/sqldeveloper.sh
Oracle SQL Developer
Copyright (c) 1997, 2011, Oracle and/or its affiliates. All rights reserved.
Type the full pathname of a J2SE installation (or Ctrl-C to quit), the path will be stored in ~/.sqldeveloper/jdk
/opt/sqldeveloper/jre
Error: Java home /opt/sqldeveloper/jre/bin/java is not a J2SE SDK.
Running SQL Developer under a JRE is not supported.
If the Java VM specified by the SetJavaHome is actually a full J2SDK installation
then add 'SetSkipJ2SDKCheck true' to /opt/sqldeveloper/sqldeveloper/bin/sqldeveloper.conf
---------------------------------------------------------------------------------------------------
Install the Oracle JDK 6
Oracle themselves have the official guide to install their JDK - below is based upon those instructions.
Download the 32bit or 64bit Linux "compressed binary file" - it has a ".bin" file extension
Give it permissions to execute and extract it
chmod a+x [version]-linux-i586.bin
./[version]-linux-i586.bin
During installation it will ask you to register - press ENTER. Firefox will open with the registration page. Registration is optional.
JDK 6 package is extracted into ./jdk1.6.0_x directory, for example ./jdk1.6.0_30.
Lets rename it:
mv jdk1.6.0_30 java-6-oracle
Now move the JDK 6 directory to /usr/lib
sudo mkdir /usr/lib/jvm
sudo mv java-6-oracle /usr/lib/jvm
witch to Oracle JDK 6
webupd8.googlecode.com hosts a nice-easy script to help with this.
wget http://webupd8.googlecode.com/files/update-java-0.5b
chmod +x update-java-0.5b
sudo ./update-java-0.5b
don't worry - 0.5b refers to the script version - not the version of java!
An alternative to this is to use the webupd8 ppa and the update-java package.
enter image description here
Finally test the switch has been successful:
java -version
javac -version
These should display the oracle version installed - 1.6.0_30
Install the Firefox/Chrome plugin
In a terminal:
mkdir ~/.mozilla/plugins
Remove the IcedTea plugin, if it has been installed.
sudo apt-get remove icedtea6-plugin
Remove a former version of the Java plugin (may or may not be present)
rm ~/.mozilla/plugins/libnpjp2.so
Now you can install the plugin, by creating a symbolic link (you tell Firefox, where the plugin is located).
(32bit)
ln -s /usr/lib/jvm/java-6-oracle/jre/lib/i386/libnpjp2.so ~/.mozilla/plugins/
(64bit)
ln -s /usr/lib/jvm/java-6-oracle/jre/lib/amd64/libnpjp2.so ~/.mozilla/plugins/
Confirm that the JRE has been successful by using the official oracle website.
Eclipse Plugin
SoapUI eclipse Update Site
An eclipse update site is now available at http://www.soapui.org/eclipse/update, install the soapui-eclipse-plugin with the following steps:
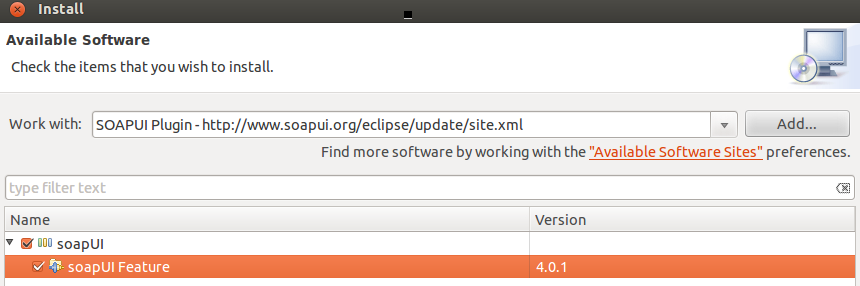
1. Select Help > Install New Software...
2. In the Work with field, type http://www.soapui.org/eclipse/update and click Add...
3. Enter the following in the dialog that appears:
entering the SoapUI update site in eclipse
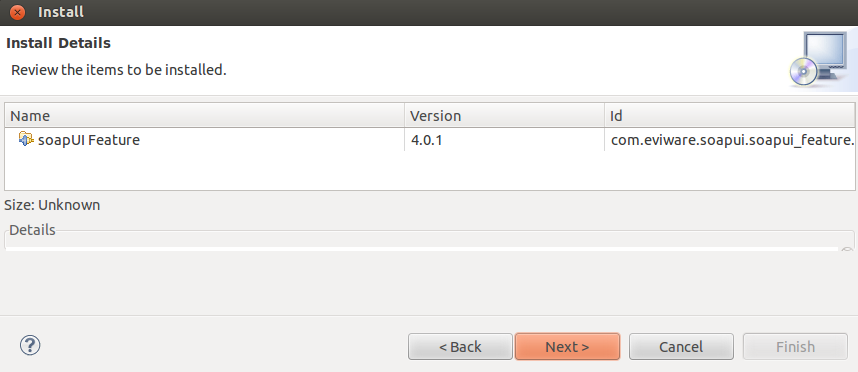
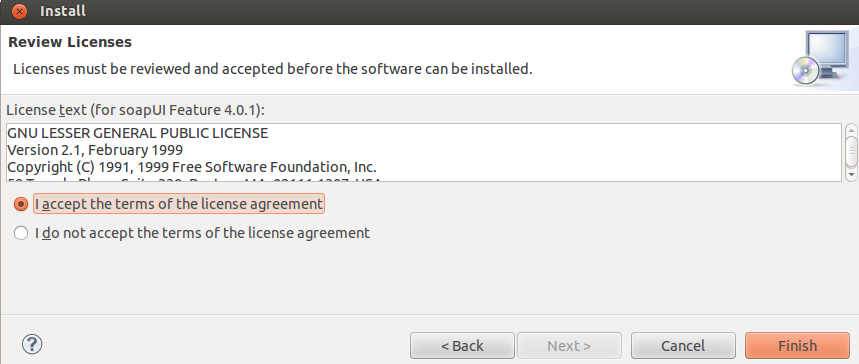
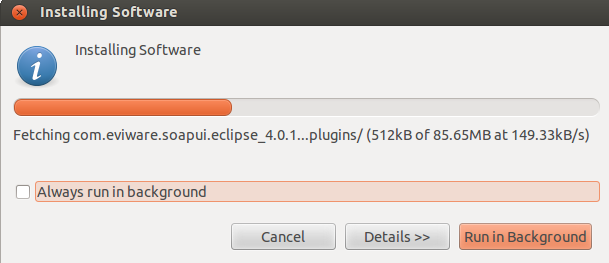
4. Check the SoapUI checkbox and click Next. Then follow the dialogs to install the SoapUI feature
Read the Getting Started with SoapUI document and the SoapUI User Guide to get going!
The SoapUI Perspective
Once installed, open the SoapUI Perspective by using the standard Window/Open Perspective/Other... Command and selecting "SoapUI" from the list. The perspective will open 2 views;
* A "SoapUI Navigator" view to the left containing the same Navigator and Details tab as the standalone SoapUI version.
* A "SoapUI Logs" view to the bottom containing the same log tabs as the standalone SoapUI version.
the SoapUI navigator in eclipse
Navigation/actions work the same as in the standalone version, windows are opened as tabs on the eclipse desktop and can be moved/docked around as usual
Of course, the above mentioned views can be added to any perspective using the Window/Show View/Other... Command and selecting either one of them in the SoapUI group.
the SoapUI navigator in eclipse
SoapUI Preferences
Most SoapUI Settings are available from the standard Window/Preferences dialog under the SoapUI node;
SoapUI preferences in eclipse
TaskBar Launcher Resize
sudo add-apt-repository ppa:diesch/testing
sudo apt-get update
sudo apt-get install unsettings
Change Unity 2D configuration files
The configuration files are located under /usr/share/unity-2d/shell. You will need sudo to edit the files contained therein. You should also create a backup of all the files before making any changes. The simplest way to backup would be:
tar cvfz ~/Documents/unity-2d-shell-backup.tar.gz
/usr/share/unity-2d/shell/*
Now, you can proceed to edit the files in any text editor. The paths listed below are all relative to the Unity 2D shell path above.
Shell.qml, change:
width: 65 to width: 50
common/IconTile.qml, change:
sourceSize.width: 48 to sourceSize.width: 32
sourceSize.height: 48 to sourceSize.height: 32
launcher/LauncherList.qml, change:
property int tileSize: 54 to property int tileSize: 38
property int selectionOutlineSize: 65 to
property int selectionOutlineSize: 50
That would be all. Logout, log back in.
How do I know I'm running Unity 2D?
This is a good question and probably merits a separate article. In general, on AskUbuntu, they tell you to look for various visual clues. The Launcher icons and right-click text have no transparency, there's no shadow under the menu and such. For me, the simplest way to distinguish between sessions is to look for unity-2d string in the process table, which then indicates I'm either running the 2D version or not.
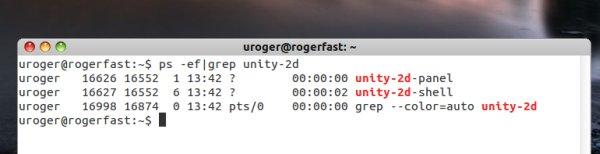
setup@UB1204:~$ ps -ef|grep unity-2d
setup 1552 1306 0 08:40 ? 00:00:04 unity-2d-panel
setup 1553 1306 1 08:40 ? 00:00:27 unity-2d-shell
setup 3307 3248 0 09:20 pts/1 00:00:00 grep --color=auto unity-2d
Cleaning & Resizing Drives
Cleaning up of partial package:
sudo apt-get autoclean
Cleaning up of the apt cache:
sudo apt-get clean
Cleaning up of any unused dependencies:
sudo apt-get autoremove
A good practice to avoid any left behind is to use the autoremove command whenever you want to uninstall an application.
sudo apt-get autoremove application-name
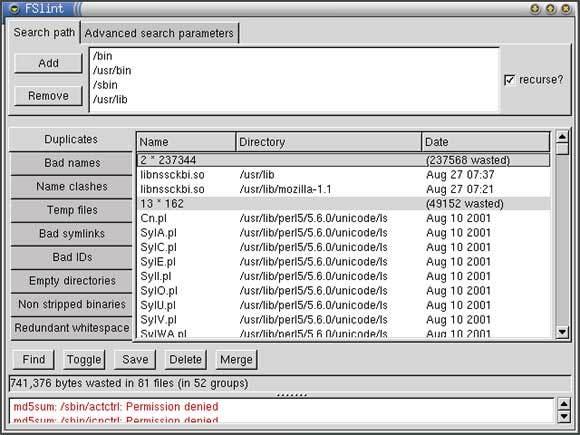
Install fslint, or via the terminal:
sudo apt-get install fslint
Go to Applications-> System Tools-> FSlint. Add the file path that you want to search. On the left, click on the Duplicate tab and click Find at the bottom.
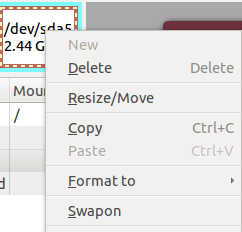
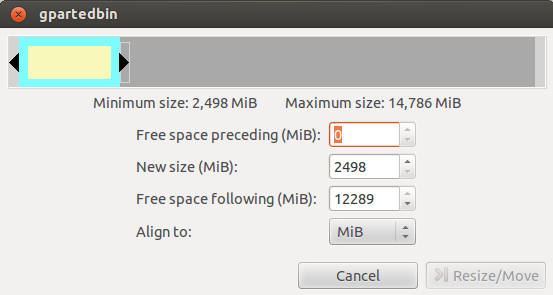
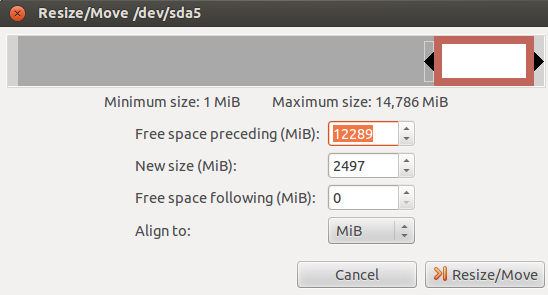
GParted Partition Editor & Resizing VMDK Files
VMWARE
- Create NEW VM in NEW folder and mount OLD VMDK file
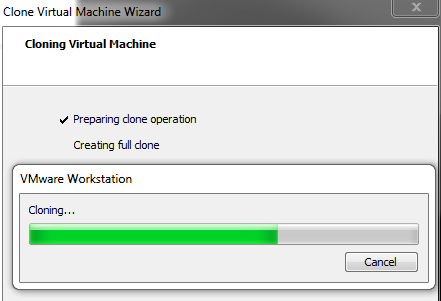
- Immediately select Manage\Clone...

- Select\Create a new folder C:\VM\UB1205.05 for the newly cloned VM
- Note: Performing this operation across 2 drives will significantly reduce transfer time.
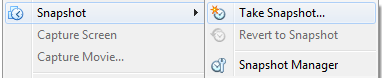
- Once Cloning is complete, immediately take a snapshot
- Then boot the VM to test

Basic Applications
|
|
|
* |


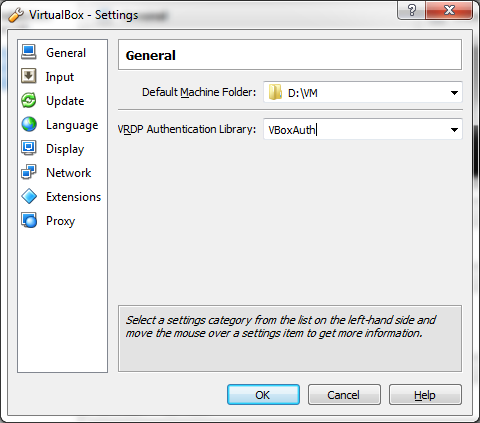
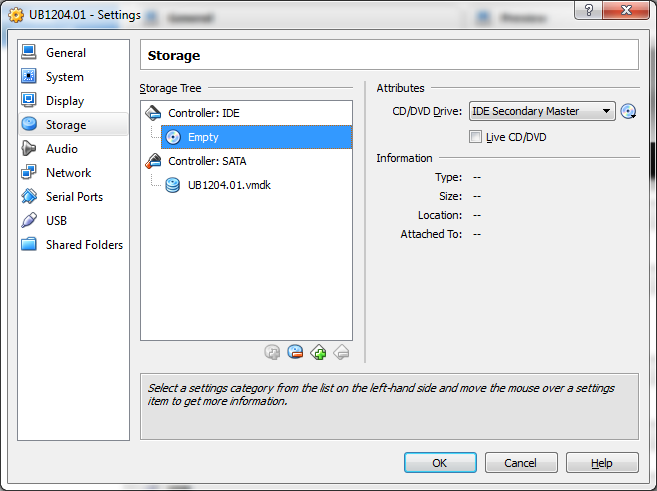
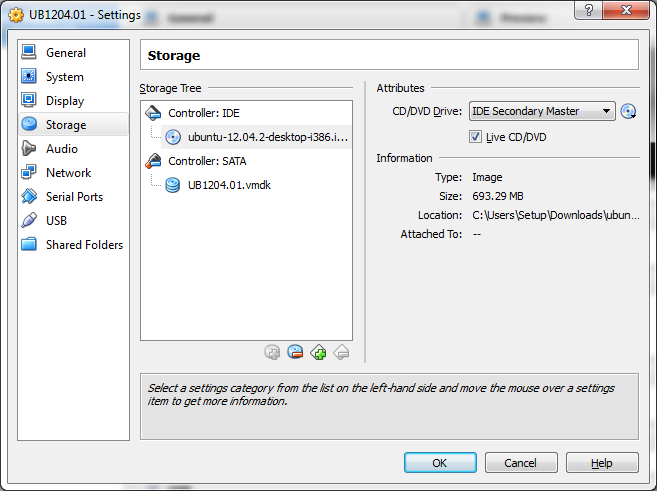
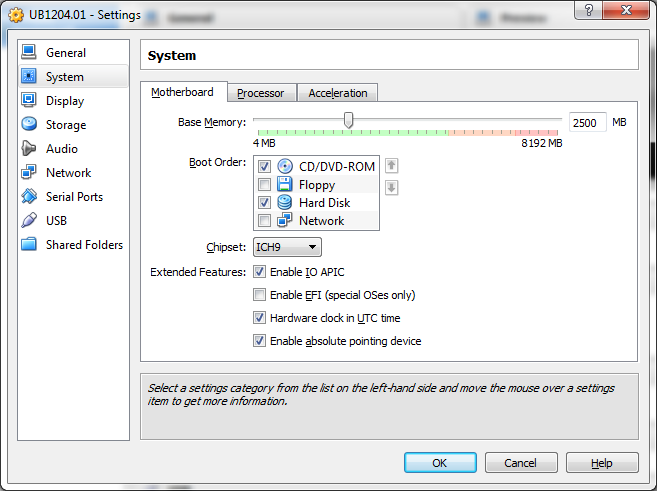
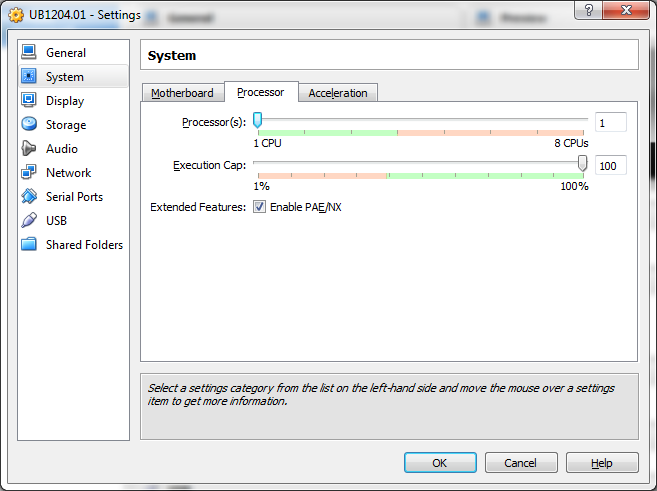
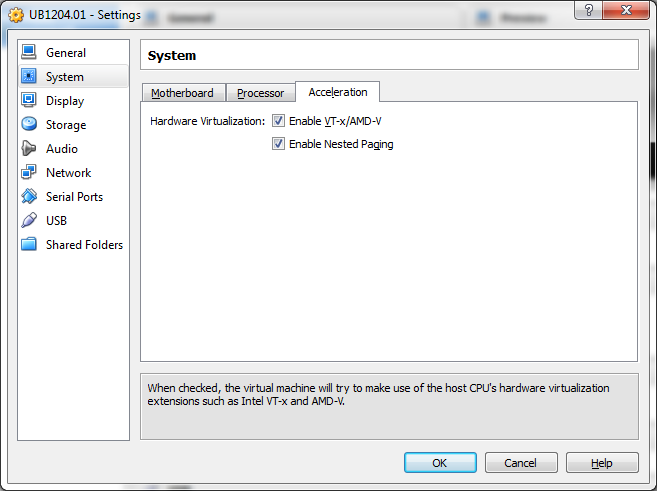
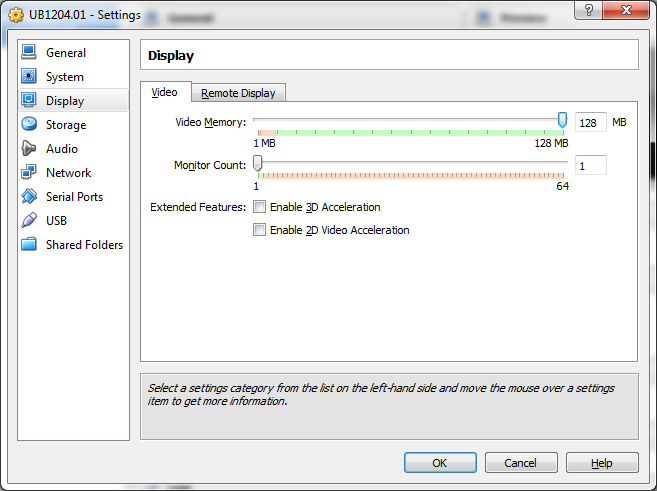
VBOX Configuration Settings
|
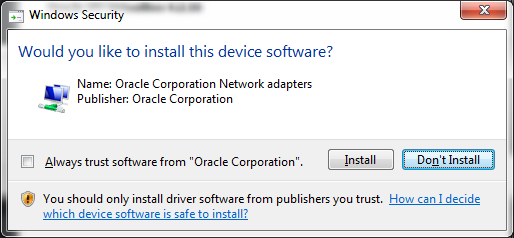
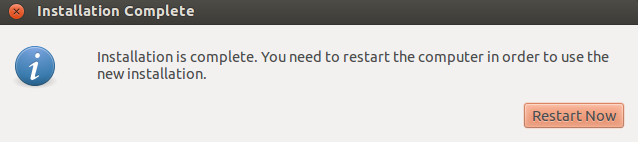
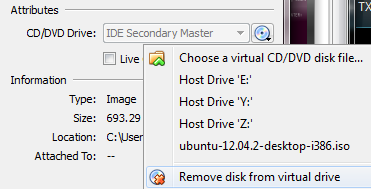
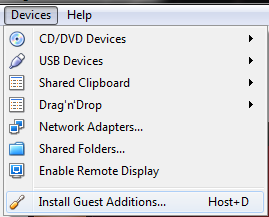
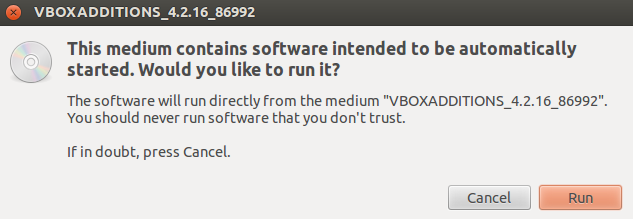
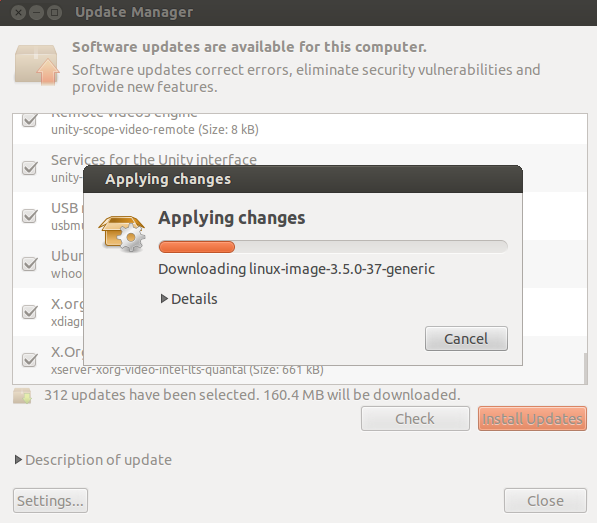
Ok, there you have it. The VBox settings for the best performance. Hopefully, the VirtualBox team hasn’t Changed too many names for these settings in the newer versions. No Unity Connect the Ubuntu ISO to the CDROM in Storage and start the install. Since we disabled the GPU advanced 2D and 3D acceleration, Unity should not install. This is good. Unity 2D might, which is fine. It doesn’t seem to cause as many issues. Guest Addition Dependencies After the OS install, a few things are needed to make VBox nicer. Mainly theGuest Additions. $ sudo apt-get install build-essential dkms One of three kernel header packages is required. Run $ uname -r and based on the returned string, install one of these: {}-generic-pae = apt-get install linux-headers-generic-pae Important: Reinstalling Guest Additions must be performed manually if DKMSdoesn’t handle it automatically after a new kernel is installed. Do not use kernel-version specific versions. You want one of the listed choices above so your system will automatically manage updates with every new kernel. Mount and Install Guest Additions In the “machine menu”, Select the Devices menu, then Install Guest Additions. For Linux, this just makes the device available. In Ubuntu, the device should be auto-mounted under /media/. Open in File Manager dialog will probably be displayed. It doesn’t matter to me if you use this or not.
If there are any errors in this last step, look at the log file and resolve them. Reboot the VM to have the guest additions start working. The main thing these addons provide is nicer mouse integration, better video performance and resizing of the VM window. It really is worth the hassle for any GUI VM. For servers, I don’t usually bother as the mouse and video don’t matter at all. Now your VM should work with about 95% of native performance. I wouldn’t bother using VirtualBox with any CPU less than a Core 2 Duo or any amount ofRAM less than 2GB. It just isn’t worth it.
|
|
Java for Linux Platforms
The instructions below are for installing version Java 7 Update 7 (7u7). If you are installing another version, make sure you change the version number appropriately when you type the commands at the terminal. Example: For Java 6u35 replace 7u7 with 6u35. Note that, as in the preceding example, the version number is sometimes preceded with the letter u, and sometimes it is preceded with an underbar, for example, jre1.7.0_07.
Change to the directory in which you want to install. Type: cd <directory path name> For example, to install the software in the /usr/java/ directory, Type: cd /usr/java/
Note about root access: To install Java in a system-wide location such as /usr/local, you must login as the root user to gain the necessary permissions. If you do not have root access, install the Java in your home directory or a sub directory for which you have write permissions Move the .tar.gz archive binary to the current directory. Unpack the tarball and install Java tar zxvf jre-7u7-linux-i586.tar.gz
The Java files are installed in a directory called jre1.7.0_07 in the current directory. In this example, it is installed in the /usr/java/jre1.7.0_07 directory. Delete the .tar.gz file if you want to save disk space. ------------------------ Enable and Configure
Firefox or Mozilla To configure the Java Plugin follow these steps:
Exit Firefox browser if it is already running. Uninstall any previous installations of Java Plugin. Only one Java Plugin can be used at a time. When you want to use a different plugin, or version of a plugin, remove the symbolic links to any other versions and create a fresh symbolic link to the new one. Create a symbolic link to the libnpjp2.so file in the browser plugins directory Go to the plugins sub-directory under the Firefox installation directory cd <Firefox installation directory>/plugins Create plugins directory if it does not exist. Create the symbolic link ln -s <Java installation directory>/lib/i386/libnpjp2.so
Note: If you are upgrading your Java version then before creating new symbolic link you should remove old symbolic link to enable latest downloaded Java.
To remove old symbolic link: type cd <Firefox installation directory>/plugins rm libjavaplugin_oji.so Example If Firefox is installed at this directory: /usr/lib/<Firefox installation directory> And if the Java is installed at this directory: /usr/java/<Java installation directory> Then type in the terminal window to go to the browser plug-in directory: /usr/lib/<Firefox installation directory>/plugins Enter the following command to create a symbolic link to the Java Plug-in for the Mozilla browser. ln -s /usr/java/<Java installation directory>/lib/i386/libnpjp2.so
Start the Firefox browser, or restart it if it is already up.
In Firefox, type about:plugins in the Location bar to confirm that the Java Plugin is loaded. You can also click the Tools menu to confirm that Java Console is there. |
Mounting Drives
|
|
||||
|
Using mount Get the Information
Sometimes devices don't automount, in which case you should try to manually mount it. First, you must know what device we are dealing with and what filesystem it is formatted with. Most flash drives are FAT16 or FAT32 and most external hard disks are NTFS. sudo fdisk -l Find your device in the list, it is probably something like /dev/sdb1. For more information about filesystems, see LinuxFilesystemsExplained. Create the Mount Point Now we need to create a mount point for the device, let's say we want to call it "external". You can call it whatever you want, just please don't use spaces in the name or it gets a little more complicated - use an underscore to separate words (like "my_external"). Create the mount point: sudo mkdir /media/external Mount the Drive
We can now mount the drive. Let's say the device is /dev/sdb1, the filesystem is FAT16 or FAT32 (like it is for most USB flash drives), and we want to mount it at /media/external (having already created the mount point): sudo mount -t vfat /dev/sdb1 /media/external -o uid=1000,gid=1000,utf8,dmask=027,fmask=137 The options following the "-o" allow your user to have ownership of the drive, and the masks allow for extra security for file system permissions. If you don't use those extra options you may not be able to read and write the drive with your regular username. Otherwise if the device is formatted with NTFS, run: sudo mount -t ntfs-3g /dev/sdb1 /media/external
You must have the ntfs-3g driver installed. See MountingWindowsPartitions for more information.
Unmounting the Drive
When you are finished with the device, don't forget to unmount the drive before disconnecting it. Assuming /dev/sdb1 mounted at /media/external, you can either unmount using the device or the mount point: sudo umount /dev/sdb1 or: sudo umount /media/external You cannot unmount from the desktop by right clicking the icon if the drive was manually mounted. Using pmount There is a program called pmount available in the repositories which allows unprivileged users to mount drives as if they were using sudo, even without an entry in /etc/fstab. This is perfect for computers that have users without RootSudo access, like public terminals or thin clients. pmount can be used with the same syntax as mount (but without sudo), or quite simply as follows: pmount <device> [ label ] Example:
If you leave off the label option, it will mount by default at /media/device To unmount the device, use pumount, like so: pumount <device> Example:
For more help, you can see the man pages for pmount and pumount.
|


Network Configuration Issues
Found it! "To resolve this, all you need is to remove all other interface except lo from /etc/network/interfaces
sudo cat /etc/network/interfaces
#working config
auto lo
iface lo inet loopback
sudo cat /etc/network/interfaces
#previous non-working config
auto lo
iface lo inet loopback
auto eth0
iface eth0 inet manual
Once you are done with necessary changes:
restart network-manager
sudo service network-manager restart
- Log in to post comments