NetBeans IDE
This Guide gives an overview on installing NetBeans with a JRE/JDK, verifying Build Success, adding Libraries and Source JARs/Files.
Installation
Configuration
Quick Steps
( verbose sections are at end of this document )
- Download and Extract Netbeans
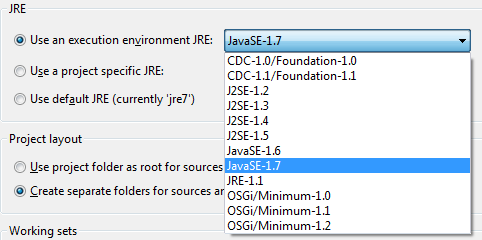
- Get Java 1.7 JDK/JRE
- Create mock project, add Java Plaform if needed
- Add Dependencies and Libraries where applicable
- Build Project
- Resolve Compile/Build Errors
- Build Project Again
- Once successful, then ready to go
Working in JDK/JRE
JDK7, Source, and Docs
- For some reason, Oracle no longer releases JDK’s to windows in ZIP format, so the installer EXE file needed to be extracted, components unzipped and extracted and unzipped again.
With:
D:\DEVL\Netbeans\bin\netbeans
D:\DEVL\Java\Java32\jdk7u45
D:\DEVL\Java\Java32\jdk7u45-src
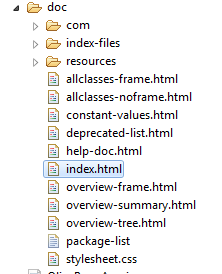
- I got lost during manual extraction of the jdk/jre ( could Oracle make it more confusing? ) so here’s screen cap of working folders.


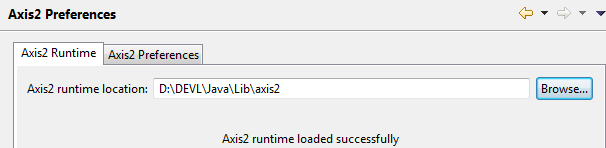
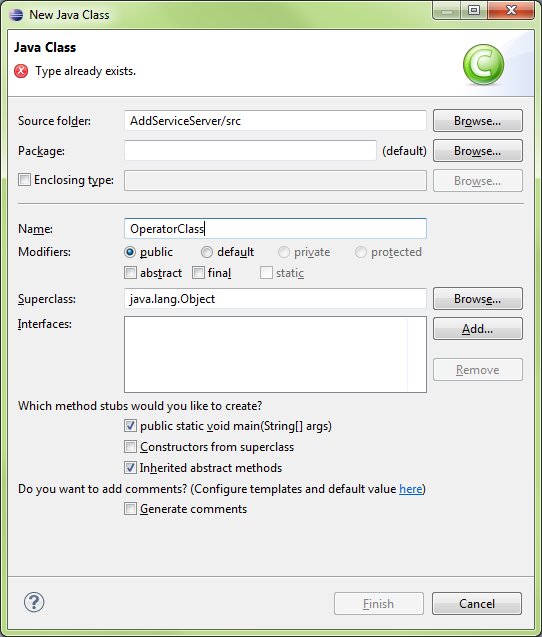
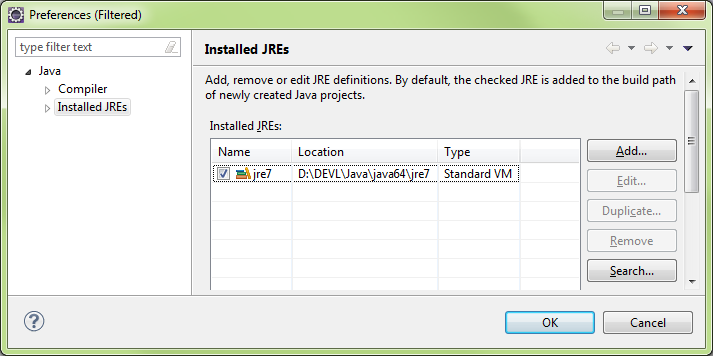
Create/Manage JRE/JDK Platforms


- Locate your JDK Installation, notice that the NEXT button will be enabled/disabled in real-time based on your choice.
- Click NEXT

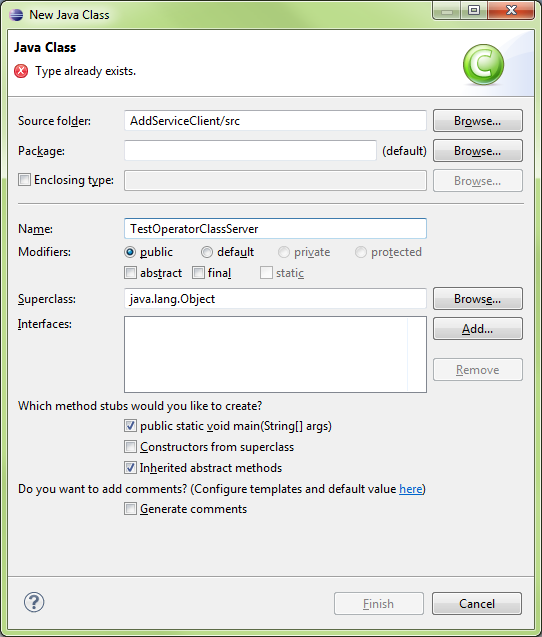
Pick a unique name
- An error will display until a unique name is used

- Click Browse for the Source Files (src)

- If all the JRE/JDKs are centrally located, this will make managing them much easier. Select the latest JDK unless there’s a reason not to.

- Javadoc will normally be automatically populated with the correct internet URL
- The Platform has been added with Sources and/or Javadoc locations


- Click CLOSE to return to the Project Properties window
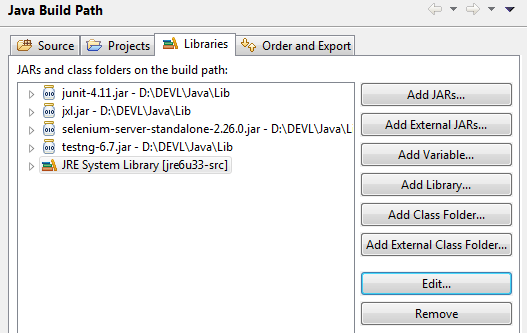
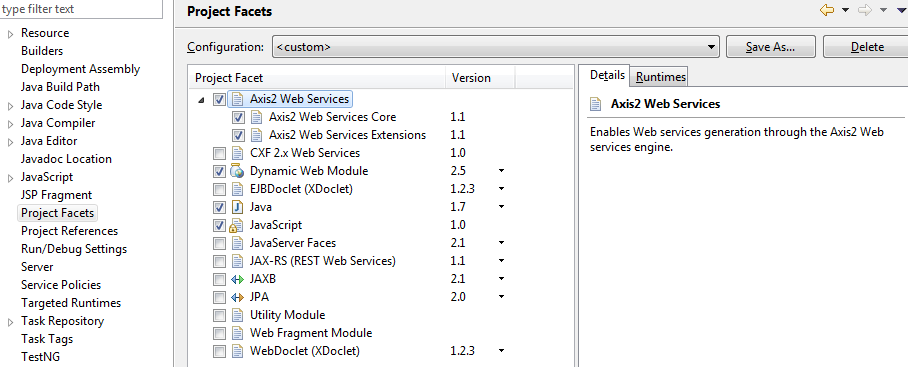
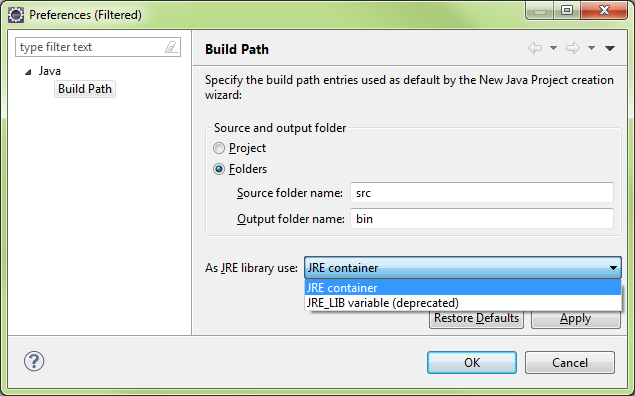
- In the Libraries branch of the menu, add 3rd Party or customer pre-compiled JAR libraries by the Folder or Individually
- If backwards compatibility is required, select the version
Building
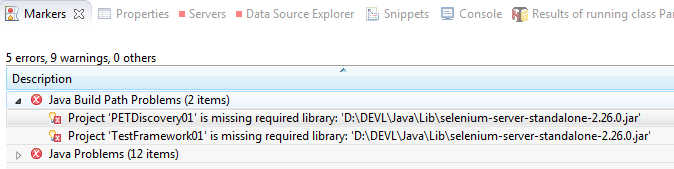
- Next attmempt to Build the project to ensure all dependencies have been linked/added
- This Build failed due to POI dependency missing

- Go back to Project Properties and add the Library OR….
- make sure you actually put all files in the right place.
- In this case the XML tools JAR was missing so I added it to the Java library on the OS filesystem with no changes needed in NetBeans
- THEN, added the ooxml.jar and poi.jar files explicitly
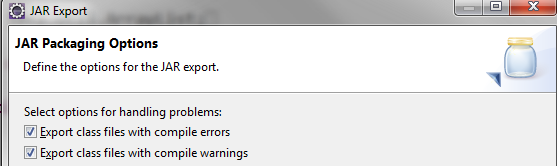
On the next Build attempt, Warnings were thrown, but it was Successful!!
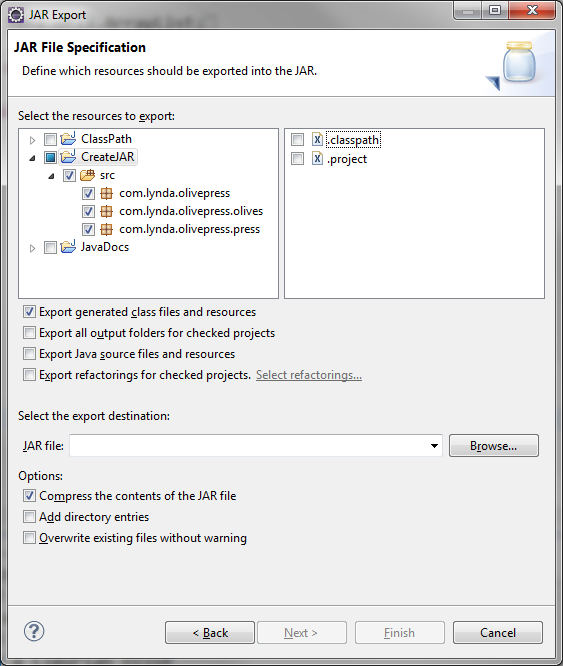
Notice our JAR file for SoapUI was just created:
T:\DEVL\Java\java32\jdk7u45/bin/java -jar "T:\DEVL\NetBeansGroovy\GroovyJavaDemo\dist\GroovyJavaDemo.jar"
Other Configuration Considerations
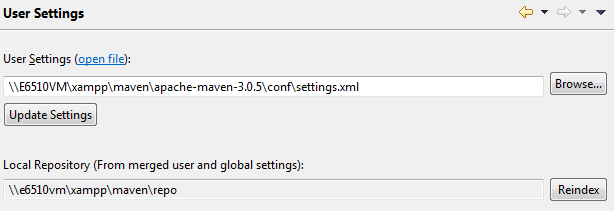
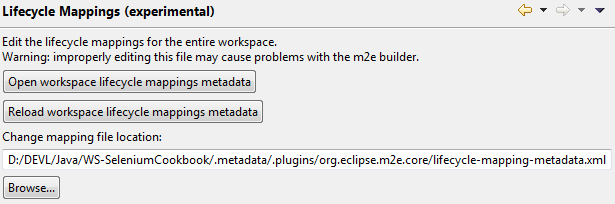
Editing netbeans_jdkhome in netbeans.conf
Update the following config file the JAVA_HOME path
T:\DEVL\netbeans\etc\netbeans.conf
netbeans_jdkhome="D:\DEVL\Java\java32\jdk7u17-src\"
Launcher Script for Windows (Not working yet due to VM issue)
- Think there’s JDK/JRE mismatch in play so for now…. not using these shell calls…
- (I believe I installed 7u17 a while back and so NetBeans is picking that up for JRE, but using 7u45 for JDK… anyway..)
:Netbeans32
set JAVA_HOME=%DEV_HOME%\Java\java32\jdk7u17-src
set PATH=%PATH%;%JAVA_HOME%\bin;%JAVA_HOME%
start %Netbeans32% --jdkhome "%JAVA_HOME%"
goto MENU
:Netbeans32
set JAVA_HOME=%DEV_HOME%\Java\java32\jdk7
start %Netbeans32% --jdkhome "%JAVA_HOME%"
goto MENU
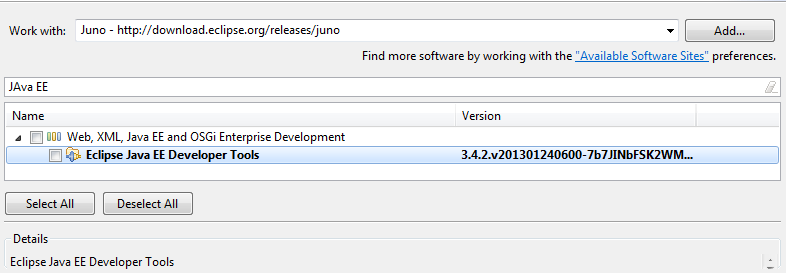
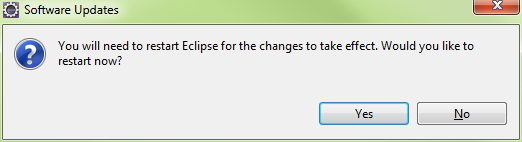
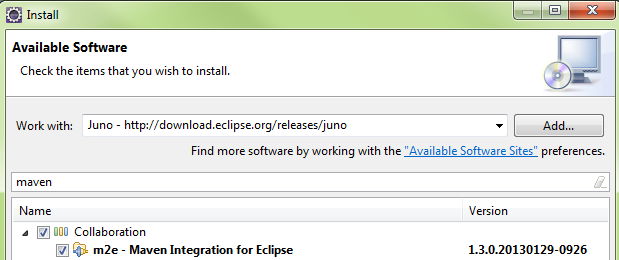
Apply NetBeans Updates
With a project that sucessfully builds, it is time to Check/Apply updates for NetBeans IDE and Plugins

![]()


HTML/Java
Git Repository Config
Setup User ID in Miscellaneous > Versioning > Mercurial
Selenium
SeleniumIDE(FireFox) http://release.seleniumhq.org/selenium-ide/2.4.0/selenium-ide-2.4.0.xpi
JAR and Source: http://docs.seleniumhq.org/download/
Javadoc: http://selenium.googlecode.com/git/docs/api/java/index.html
Apache-POI
JXL
SoapUI
SoapUI NetBeans Plugin
Filename: com-eviware-soapui-netbeans-module.nbm
http://sourceforge.net/projects/soapui/files/soapui-netbeans-plugin/
http://www.soapui.org/IDE-Plugins/installation.html
http://www.soapui.org/IDE-Plugins/netbean.html
- Start by downloading the nbm distribution from SourceForge into a temporary folder.
- Be sure to remove any existing installation of the soapUI plugin and any associated files. Failure to do so will most likely cause installation / execution problems.
- Start NetBeans and select the "Tools / Plugins" menu item
- Switch to the "Downloaded" tab and select the "Add Plugins..." button to browse to the downloaded nbm file


Upon Restart of the IDE


Import a SoapUI Project


Note: Be sure to Import all dependent JARs to <soapui>/bin/ext/*.JAR
Note: NetBeans plugins use the %HOME% variable, on Win7 its under ‘\Users\<you>\AppData’
T:\DEVL\AppData\netbeans\7.4\ext
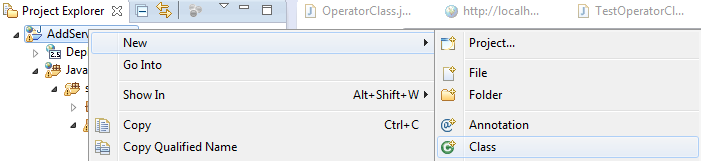
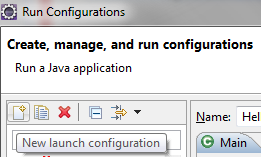
Creating a Groovy Application
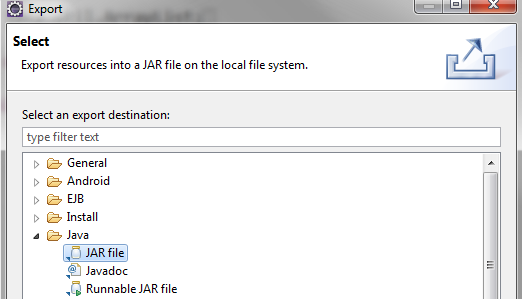
- Options > Java>Java Application
Select Project Folder
NetBeans Creates the Project


NetBeans UI Customization
UI Customization may be required to properly see some plugins.
UI Editor
Set Look And Feel
Fonts and Colors: Update Syntax Formatting and Highlighting
- Fonts & Colors handles all the formatting within the code ‘Editor’ window.
- This does not manage the NetBeans UI themes.
- The automatic highlighting that occurs when the cursor is under a variable name, for instance,
- Mark Occurrences highlighting was light on light originally and made it hard to see so it was changed to a ‘light on dark’ setting


Updating NetBeans IDE ‘Look And Feel’
- NetBeans IDE provides a few ways to customize the UI. This will show how all the places to update to the ‘Nimbus’ theme
- When wishing to select a new theme, Configure in this sequence:
- UIEditor
- Dynamic LAF
- Options/Misc/Windows
Window>UIEditor ( if Plugin is installed )
- UIEditor allows for precise tweaking, but implementation is lacking a bit.
- Would Suggest to avoid this Plugin initially
Tools>Options>Misc>Dynamic LAF (if Plugin is installed )
- Dynamic LAF Changer is a nice tool to have.
- Doesn’t prevent needing a restart 100% of the time.
Tools>Options>Misc>Windows
This is the default method of changing themes; the other two are Plugins.

UIEditor


Apendices
NetBeans Installation
Note: This section is ripped off the NetBeans website and is just an archive
https://netbeans.org/community/releases/74/install.html
https://netbeans.org/kb/docs/java/groovy-quickstart.html
Required Software
The Java SE Development Kit (JDK) 7 Update 10 (or later) is required to install the NetBeans IDE. You can download the latest update of JDK 7 athttp://www.oracle.com/technetwork/java/javase/downloads.
The PHP and C/C++ NetBeans bundles only require the Java Runtime Environment (JRE) 7 to be installed and run. JDK 7 is required if you are planning to use any of the Java features.
JDK 7 Update 6 (or newer) is required to use JavaFX 2.2 (or newer) features in the NetBeans IDE 7.4.
Note:
- JavaFX 2.2 is bundled with the latest JDK 7 for Windows, Mac and Linux.
- Unlike previous versions of NetBeans IDE, NetBeans IDE 7.4 does not require that you set up an "FX-enabled" Java platform in order to utilize JavaFX support in the IDE. You can develop JavaFX projects in the IDE if you install any standard Java platform that is JDK 7 Update 6 or newer.
- To use JavaFX features in the NetBeans IDE, we strongly recommend that you upgrade your JDK version to JDK 7 Update 10 or newer.
Customizing Your Installation
If you download the All download option, you can choose exactly what tools and runtimes to install. Click Customize at the Welcome page of the installer and select the features that you want to use. For more information, see Installing the Software.
If you want to add functionality to your NetBeans IDE configuration, use the NetBeans Plugin Manager. For example, assume that you start out by downloading and installing the PHP pack. You then decide that you want to try out the C/C++ functionality. To do this, go to the NetBeans Plugin Manager from the IDE (choose Tools > Plugins) and add the C/C++ pack to your existing installation.
There are several important notes about installation and configuration of some NetBeans IDE features:
- GlassFish Server Open Source Edition 4.0 is included in the Java EE and All download options but it is not installed by default from either of these options. To install GlassFish Server Open Source Edition 4.0, select the appropriate option below:
- from the Java EE download, launch the installer and select the GlassFish Server Open Source Edition 4.0 checkbox at the Welcome page;
- from the All download, launch the installer and select GlassFish Server Open Source Edition 4.0 in the Customize Installation dialog box.
- You should change the default administrator password after you install the GlassFish server, refer to FaqSettingGlassFishPassword for details.
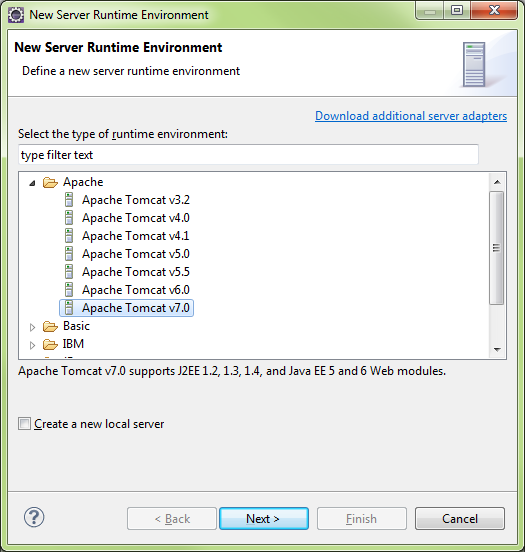
- Apache Tomcat 7.0.41 is included in the Java EE and All download options but it is not installed by default from either of these options. To install Apache Tomcat, select the appropriate option below:
- from the Java EE download, launch the installer and select the Apache Tomcat 7.0.41 checkbox at the Welcome page;
- from the All download, launch the installer and select Apache Tomcat 7.0.41 in the Customize Installation dialog box.
- For HTML5 and JavaScript development for mobile devices (Android and iOS), you need to additionally install SDKs and other development tools for the target development platform. For more information, refer to the Mobile Browsers wiki page.
- For OS X, you can customize the NetBeans IDE installation from the All and Java EE downloads. The IDE installation from Java SE, C/C++, and PHPdownloads cannot be customized.
- You can also download a platform-independent zip file and run the NetBeans IDE executable file. Note that the GlassFish Server Open Source Edition and Apache Tomcat are only available with platform-specific installers.
- To make sample project templates unreachable in the NetBeans IDE installation, see the Hide Sample Projects FAQ page.
Installing the Software
Follow the instructions in this section to install the IDE on your system. These installation instructions apply to all supported platforms. For the list of supported platforms and system requirements, see the release notes.
Microsoft Windows, Solaris OS, and Linux
To install the software:
- After the download completes, run the installer.
- For Windows, the installer executable file has the .exe extension. Double-click the installer file to run it.
- For Solaris and Linux platforms, the installer file has the .sh extension. For these platforms, you need to make the installer files executable by using the following command: chmod +x <installer-file-name>
- If you downloaded the All or Java EE bundle, you can customize your installation. Perform the following steps at the Welcome page of the installation wizard:
- Click Customize.
- In the Customize Installation dialog box, make your selections.
- Click OK.
- At the Welcome page of the installation wizard, click Next.
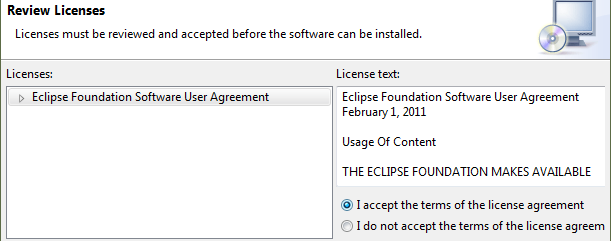
- At the License agreement page, review the license agreement, click the acceptance check box, and click Next.
- At the JUnit License Agreement page, decide if you want to install JUnit and click the appropriate option, click Next.
- At the NetBeans IDE installation page, do the following:
- Accept the default installation directory for the NetBeans IDE or specify another directory.
- Note: The installation directory must be empty and the user profile you are using to run the installer must have read/write permissions for this directory.
- Accept the default JDK installation to use with the NetBeans IDE or select a different installation from the drop-down list. If the installation wizard did not find a compatible JDK installation to use with the NetBeans IDE, your JDK is not installed in the default location. In this case, specify the path to an installed JDK and click Next, or cancel the current installation. After installing the required JDK version you can restart the installation.
- Note: If the JDK version is older than the recommended JDK 7 Update 10, download and install the latest JDK update from Java SE Downloads page and restart the NetBeans IDE installer.
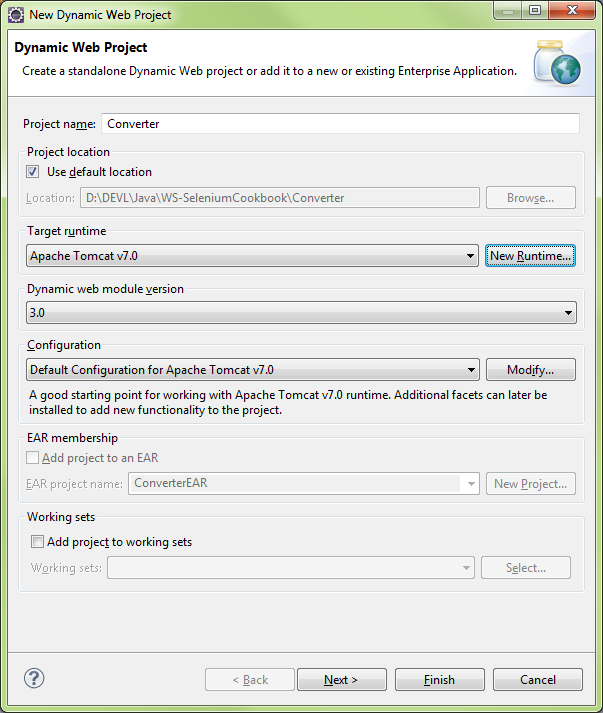
- If the GlassFish Server Open Source Edition 4.0 installation page opens, accept the default installation directory or specify another installation location.
- If you are installing Apache Tomcat, on its installation page, accept the default installation directory or specify another installation location. Click Next.
- At the Summary page, do the following:
- Verify that the list of components to be installed is correct.
- Select the Check for Updates check box if you want to check the Update Center for possible updates and have the JUnit library installed during the installation (provided you accepted the license in step 5.)
- Verify that you have adequate space on your system for the installation.
- Click Install to begin the installation.
- At the Setup Complete page, provide anonymous usage data if desired, and click Finish.
Note: If you encounter problems successfully completing the software installation, see Troubleshooting for descriptions and suggested workarounds for unresolved issues that could affect the installation process.
OS X
To install the software:
- After the download completes, run the installer. The installer file has the .dmg extension.
- On the panel that opens double-click the package icon. The package has the .mpkg extension. The installation wizard starts.
- Click Continue when the "This package will run a program to determine if the software can be installed." dialog box is displayed.
- At the Introduction page of the installation wizard, click Continue.
- Note: If the JDK version is older than the recommended JDK 7 Update 10, download and install the latest JDK update from Java SE Downloadspage and restart the NetBeans IDE installer.
- Review the license agreement and click Continue. Click Accept in the pop-up window to accept the license.
- At the Select a Destination page, select the drive and click Continue.
- If you downloaded the All or Java EE bundle, you can customize your installation. On the last installation wizard panel, press the Customize button in the bottom left-hand side of the panel. The tree of products is displayed.
- Select the products you want to install.
- Enter the administrator's name and password for your system and click OK to begin the installation.
Platform-Independent Package
To run the software:
- After the download of the platform-independent ZIP file completes, extract it to any folder on your system.
- Run the executable file located in the netbeans/bin directory.
- Accept the License Agreement.
- At the JUnit License Agreement page, decide if you want to install JUnit and click the appropriate option, click Next. The NetBeans IDE installation starts.
Note: If a compatible JDK installation cannot be found, you might need to manually add a path to the JDK installation directory by doing the following:
- Open the netbeans.conf file located in the netbeans/etc directory in a text editor.
- Enter the location of a compatible JDK installation for the netbeans_jdkhome option. The default location in Windows is C:\Program Files\Java\jdk1.7.0_10 or similar.
- Save the netbeans.conf file and run the executable file in the netbeans/bin directory.
Note: The GlassFish Server Open Source Edition and Apache Tomcat are available only with platform-specific installers.
Note: To use the GlassFish Server Open Source Edition and/or Apache Tomcat that are already installed on your machine, in the NetBeans IDE, clickServers on the Tools menu. This displays the Add Server Instance Wizard which helps to register an instance of the required web server with the NetBeans IDE.
Options UI WalkThrough
Main

General

Editor


Fonts and Colors

KeyMap

Java

Miscellaneous
Groovy


- Log in to post comments